Map the connection
The analog phone connects to the ATA's FXS port. The ATA connects to the IP network and presents a SIP endpoint to the PBX or provider. Confirm power requirements, network mode and the correct port before configuring an account. Use the provider's supported account and transport settings. An ATA is an endpoint with credentials and calling permissions, so apply the same provisioning and access controls used for an IP phone.
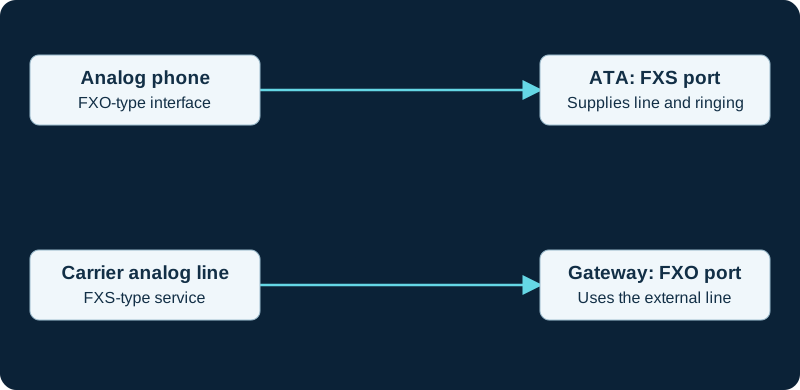
FXS supplies the line service; FXO uses it. These are two separate connection examples. Never connect two live FXS sources together.
Test local and remote behavior
First confirm the attached phone can ring, go off-hook and send the expected digits. Match regional tone, impedance and caller-ID behavior to the actual equipment. Then verify SIP registration or the provider's intended non-registering arrangement. Make incoming and outgoing test calls with two-way audio. Include DTMF menus, caller ID, remote hangup and local hangup. If the analog handset has message-waiting indicators or hook-flash features, check those separately; support varies by ATA and PBX configuration.
Plan power and wiring
An ATA and the network equipment supporting it need power. Do not assume the old line's power behavior survives migration. Some mixed FXS/FXO devices provide a documented lifeline relay, but its usefulness depends on a working connected analog line and the exact hardware behavior. Avoid reusing building telephone wiring until it is disconnected from any incompatible line source and tested for the intended load. For a shared analog circuit, inventory every attached device. A configuration that works for one phone may not ring an entire parallel-wired installation reliably.
Sources & applicability
Primary references for the technical details above. Operational examples and planning checklists are VoIP.info editorial guidance.
Examples require adaptation to your topology. No live PBX or hardware testing is claimed.